Introduction
Why Gluten-Free Banana Bread?
Gluten-free banana bread is a fantastic option for those with gluten sensitivities, celiac disease, or anyone looking to reduce their gluten intake. Traditional banana bread recipes often include wheat flour, which contains gluten—a protein that can trigger adverse reactions in some people. Gluten-free baking provides a delicious and safe alternative for enjoying baked goods without discomfort. Plus, gluten-free banana bread can be just as moist, flavorful, and satisfying as its traditional counterpart. This recipe is designed to be easy to follow, making it perfect for both novice and experienced bakers.
What You’ll Learn:
This step-by-step guide will cover everything you need to know to make the perfect gluten-free banana bread. From selecting the best gluten-free flour blend to mastering the mixing and baking process, you’ll gain valuable insights and tips for success. Here’s a brief overview of what we’ll cover:
- Essential Ingredients: We’ll discuss the key ingredients for gluten-free banana bread, including gluten-free flour, ripe bananas, natural sweeteners, and binding agents.
- Step-by-Step Instructions: This guide provides detailed, easy-to-follow steps for preparing, mixing, and baking your banana bread to perfection.
- Tips and Tricks: Learn expert tips for achieving the right texture, enhancing the flavor, and avoiding common baking mistakes.
- Serving and Enjoying: Discover how to present your banana bread beautifully, and get ideas for complementary beverages and spreads.
By the end of this guide, you’ll have the knowledge and confidence to bake a delicious gluten-free banana bread that everyone will love. Whether you’re baking for yourself, your family, or your friends, this recipe is sure to be a hit. Let’s get started on this gluten-free baking adventure!
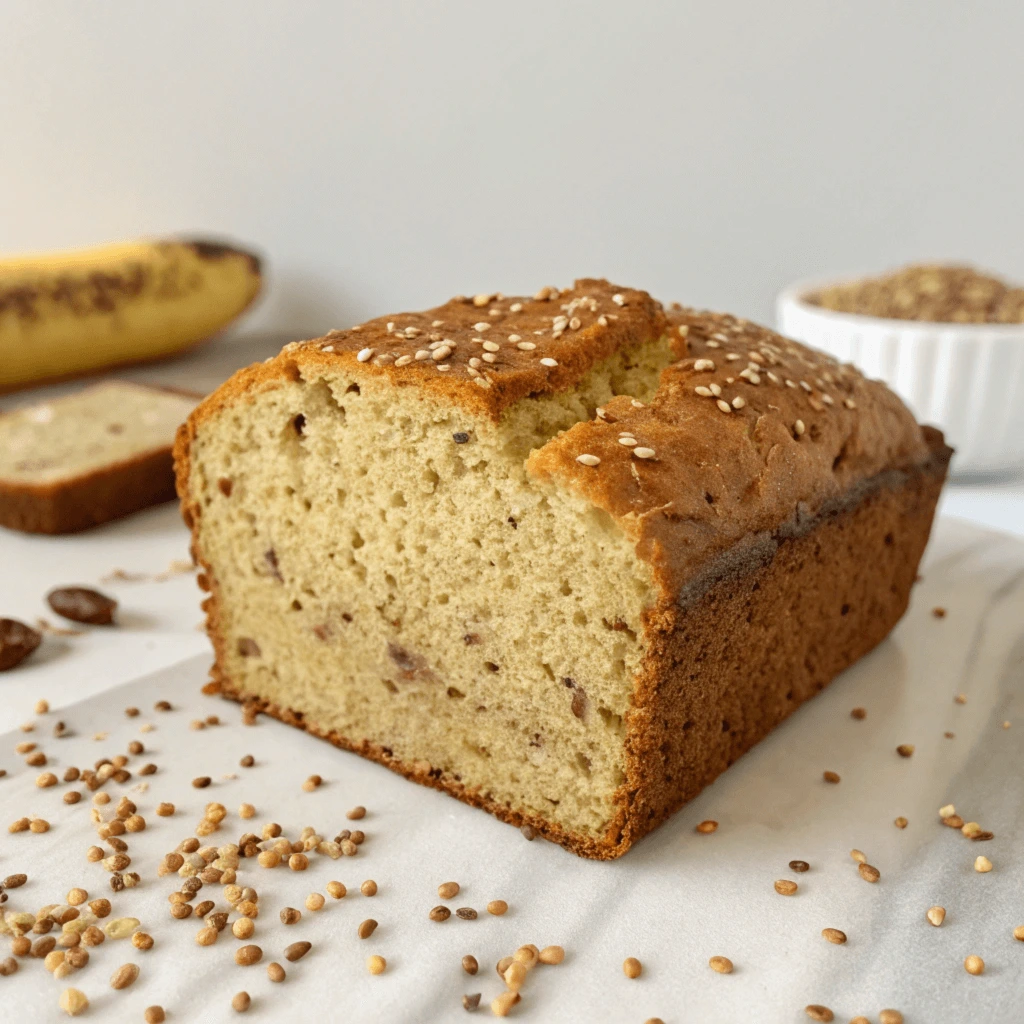
Essential Ingredients for Gluten-Free Banana Bread
Gluten-Free Flour Blend:
The foundation of any gluten-free banana bread is a high-quality gluten-free flour blend. These blends typically include a mixture of rice flour, tapioca flour, and potato starch, which mimic the texture and baking properties of wheat flour. Brands like Bob’s Red Mill, King Arthur, and Cup4Cup offer reliable gluten-free flour blends that can be used in a 1:1 ratio in place of traditional flour. If you prefer a homemade blend, a mix of brown rice flour, white rice flour, potato starch, and tapioca flour works well. It’s essential to use a blend that includes xanthan gum or guar gum to help bind the ingredients and give the bread structure.
Ripe Bananas:
The key to a flavorful and moist gluten-free banana bread is using ripe bananas. As bananas ripen, their starches convert to sugars, enhancing the sweetness and aroma of the bread. Look for bananas with plenty of brown spots on the peel, indicating they are ripe enough. Mash the bananas thoroughly to ensure they incorporate smoothly into the batter. Typically, you’ll need about three medium-sized ripe bananas for one loaf of banana bread.
Natural Sweeteners:
To keep the banana bread healthy and gluten-free, natural sweeteners like maple syrup or honey are excellent choices. These sweeteners not only add a rich, caramel-like flavor but also help retain moisture in the bread. Maple syrup is a popular choice due to its smooth consistency and distinctive taste. If you prefer a different option, coconut sugar or agave nectar can be used as well. The sweetness of the bananas paired with these natural sweeteners creates a perfectly balanced flavor profile.
Binding Agents:
In gluten-free baking, binding agents are crucial for achieving the right texture and structure. Eggs are a common choice, providing both moisture and binding properties. If you prefer an egg-free or vegan version, substitutes like flax eggs or chia eggs work well. To make a flax egg, mix one tablespoon of ground flaxseed with three tablespoons of water and let it sit for a few minutes until it forms a gel-like consistency. Chia eggs are made similarly, using chia seeds instead of flaxseed. These alternatives help bind the ingredients together and add a slightly nutty flavor.
Leavening Agents:
To ensure your gluten-free banana bread rises properly, baking soda and baking powder are essential. These leavening agents create air pockets in the batter, resulting in a light and fluffy texture. Make sure to use gluten-free certified baking powder and baking soda to avoid any cross-contamination. The right balance of these agents will help your banana bread achieve the perfect rise and texture.
Flavor Enhancers:
Adding a few flavor enhancers can elevate your gluten-free banana bread to the next level. Vanilla extract is a must, providing a warm and sweet undertone that complements the bananas. A pinch of cinnamon or nutmeg can add a delightful spice that pairs wonderfully with the other ingredients. If you like a bit of crunch, consider folding in some chopped walnuts, pecans, or chocolate chips. These additions not only enhance the flavor but also add texture and visual appeal to the bread.
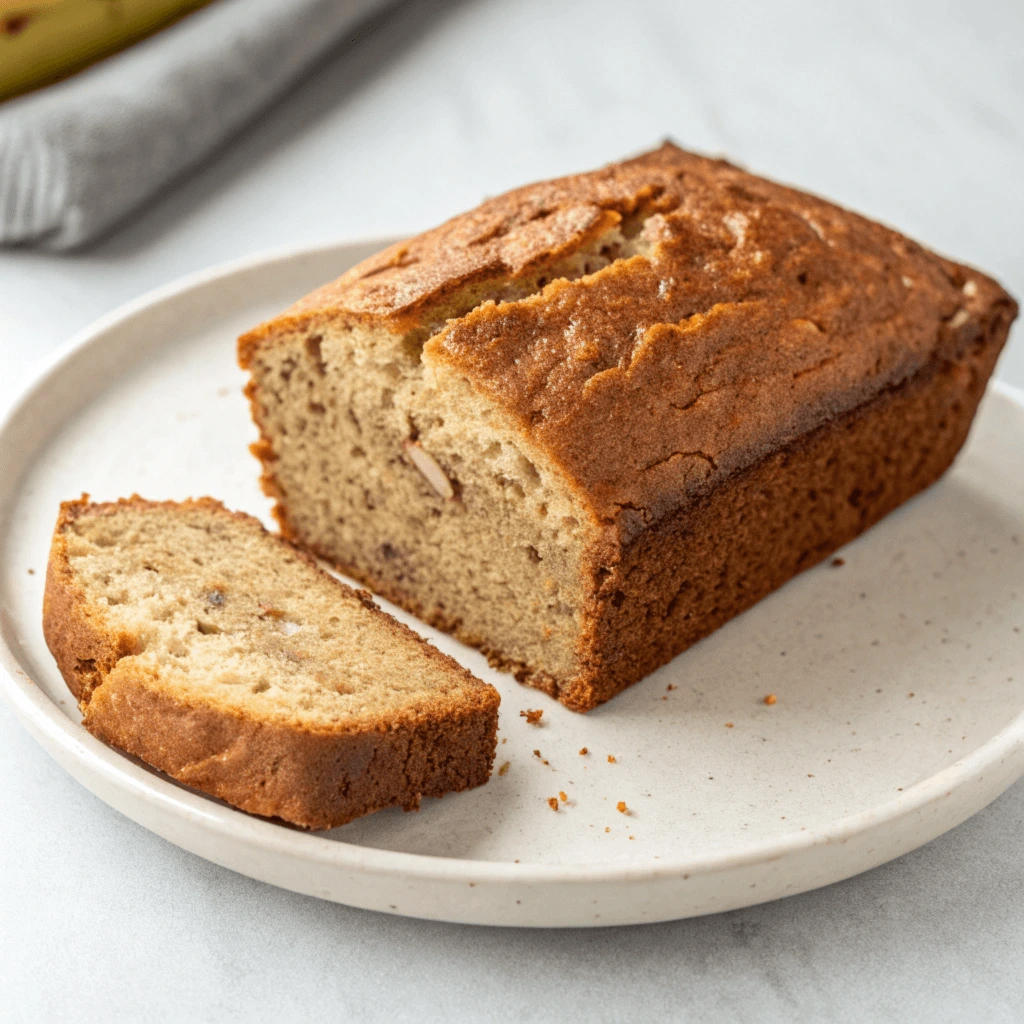
Step-by-Step Instructions for Making Gluten-Free Banana Bread
Preparing the Ingredients:
Gathering and prepping your ingredients ahead of time ensures a smooth and efficient baking process. Here’s what you’ll need and how to prepare each component:
- Gluten-Free Flour Blend:
- Measure out 1 3/4 cups of a high-quality gluten-free flour blend. Ensure the blend includes xanthan gum or guar gum for the best texture.
- Ripe Bananas:
- You’ll need about three medium-sized ripe bananas. Mash them in a large bowl until smooth and free of lumps. The bananas should yield about 1 cup of mashed banana.
- Natural Sweeteners:
- Measure 1/2 cup of maple syrup or honey. These natural sweeteners add moisture and a rich flavor to the banana bread.
- Binding Agents:
- Use 2 large eggs at room temperature. If making a vegan version, prepare flax eggs by mixing 2 tablespoons of ground flaxseed with 6 tablespoons of water and letting it sit until it forms a gel-like consistency.
- Leavening Agents:
- Measure 1 teaspoon of baking soda and 1/2 teaspoon of baking powder. Ensure they are gluten-free certified to avoid cross-contamination.
- Flavor Enhancers:
- Add 1 teaspoon of vanilla extract and 1/2 teaspoon of ground cinnamon for extra flavor. If desired, you can also add a pinch of nutmeg.
- Optional Add-Ins:
- For added texture and flavor, consider folding in 1/2 cup of chopped walnuts, pecans, or chocolate chips.
Mixing the Batter:
Creating a smooth and lump-free batter is key to achieving the perfect texture. Follow these steps:
- Combine Wet Ingredients:
- In a large mixing bowl, combine the mashed bananas, maple syrup (or honey), eggs (or flax eggs), and vanilla extract. Whisk together until the mixture is smooth and well combined.
- Combine Dry Ingredients:
- In a separate bowl, whisk together the gluten-free flour blend, baking soda, baking powder, ground cinnamon, and a pinch of salt. This ensures even distribution of the leavening agents and spices.
- Incorporate Dry Ingredients:
- Gradually add the dry ingredients to the wet mixture, stirring gently with a spatula until just combined. Be careful not to overmix, as this can result in dense and heavy bread. The batter should be thick but pourable.
- Add Optional Ingredients:
- If you’re adding nuts, chocolate chips, or other optional ingredients, fold them into the batter gently to avoid overmixing.
Baking the Bread:
Proper baking techniques ensure your gluten-free banana bread comes out perfectly moist and well-risen. Follow these steps:
- Prepare the Loaf Pan:
- Preheat your oven to 350°F (175°C). Grease a 9×5-inch loaf pan with coconut oil or line it with parchment paper for easy removal.
- Pour the Batter:
- Pour the batter into the prepared loaf pan, spreading it evenly with a spatula. Tap the pan gently on the counter to remove any air bubbles and level the batter.
- Bake the Bread:
- Place the loaf pan in the preheated oven and bake for 50-60 minutes, or until a toothpick inserted into the center comes out clean. The top of the bread should be golden brown and firm to the touch.
- Cool the Bread:
- Remove the banana bread from the oven and let it cool in the pan for 10 minutes. Transfer the bread to a wire rack to cool completely. This helps maintain its moisture and makes it easier to slice.
Cooling and Storing:
Proper cooling and storage methods ensure your banana bread stays fresh and delicious:
- Cooling:
- Allow the banana bread to cool completely on a wire rack before slicing. Cutting into the bread while it’s still warm can cause it to crumble.
- Storing:
- Store the cooled banana bread in an airtight container at room temperature for up to 3 days. For longer storage, wrap the bread tightly in plastic wrap and aluminium foil and freeze it for up to 3 months. Thaw at room temperature before serving.
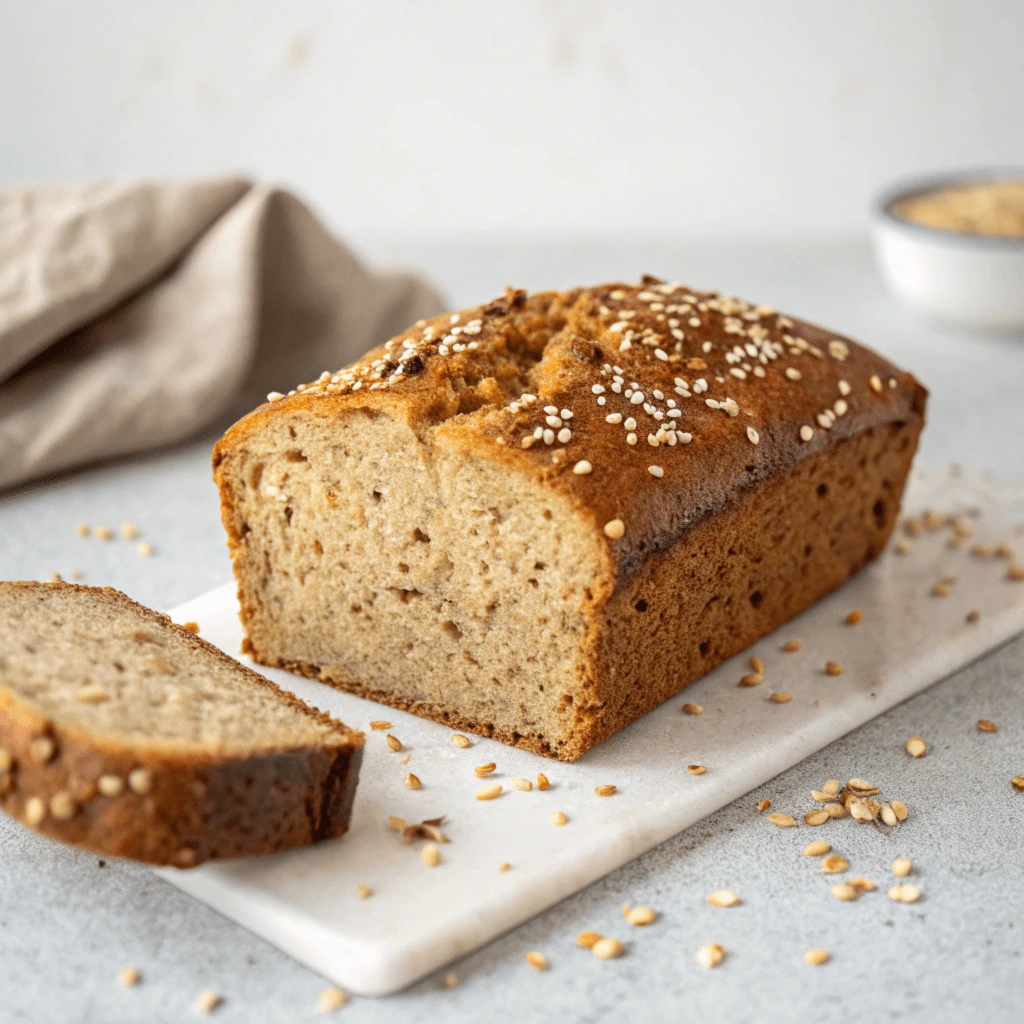
Tips and Tricks for Perfect Gluten-Free Banana Bread
Achieving the Right Texture:
One of the keys to making perfect gluten-free banana bread is getting the texture just right. Here are some tips to help you achieve a moist and tender loaf:
- Use Ripe Bananas:
- Ripe bananas with lots of brown spots are not only sweeter but also provide more moisture, which is essential for a good texture.
- Mash the bananas thoroughly to ensure they blend well with the other ingredients.
- Proper Flour Blend:
- Use a high-quality gluten-free flour blend that includes binding agents like xanthan gum or guar gum. These help to mimic the elasticity of gluten and provide structure to the bread.
- Avoid using single flours like almond or coconut flour alone, as they don’t provide the same texture as a blend.
- Avoid Overmixing:
- When combining the wet and dry ingredients, mix just until everything is incorporated. Overmixing can lead to dense and heavy bread.
- Fold in any add-ins, like nuts or chocolate chips, gently to prevent overworking the batter.
Flavor Enhancements:
Elevate the flavor of your gluten-free banana bread with these additions:
- Spices:
- Adding a pinch of cinnamon or nutmeg can bring a warm, aromatic flavor that complements the sweetness of the bananas.
- You can also experiment with other spices like ginger or cardamom for a unique twist.
- Add-ins:
- Fold in a half cup of chopped walnuts, pecans, or chocolate chips to add texture and enhance the flavor.
- Dried fruits like raisins or cranberries can add a touch of natural sweetness and a chewy texture.
- Vanilla Extract:
- A teaspoon of high-quality vanilla extract enhances the overall flavor of the bread, making it richer and more aromatic.
Baking Adjustments:
Making minor adjustments during baking can significantly impact the final result:
- Even Cooking:
- Ensure your oven is properly preheated to 350°F (175°C) and maintain an even temperature throughout baking.
- If the top of your bread is browning too quickly, cover it loosely with aluminium foil during the last 15 minutes of baking.
- Checking Doneness:
- Insert a toothpick or skewer into the center of the loaf. If it comes out clean or with just a few crumbs, the bread is done.
- Be cautious not to overbake, as this can dry out the bread. Start checking for doneness around the 50-minute mark.
Common Mistakes to Avoid:
Avoid these common pitfalls to ensure your banana bread turns out perfectly every time:
- Using the Wrong Flour:
- Not all gluten-free flours are created equal. Make sure to use a flour blend designed for baking, rather than single flour which might not give the desired texture.
- If you’re unsure, stick with trusted brands like Bob’s Red Mill or King Arthur’s Measure for Measure.
- Incorrect Measurements:
- Accurate measurements are crucial in gluten-free baking. Use a kitchen scale to weigh ingredients like flour for the best results.
- Overpacking your measuring cups can lead to too much flour, resulting in a dry and dense loaf.
- Skipping the Cooling Process:
- Allow your banana bread to cool completely before slicing. This helps to set the structure and prevents it from becoming gummy or falling apart.
- Cooling on a wire rack ensures even air circulation around the loaf, maintaining the texture.
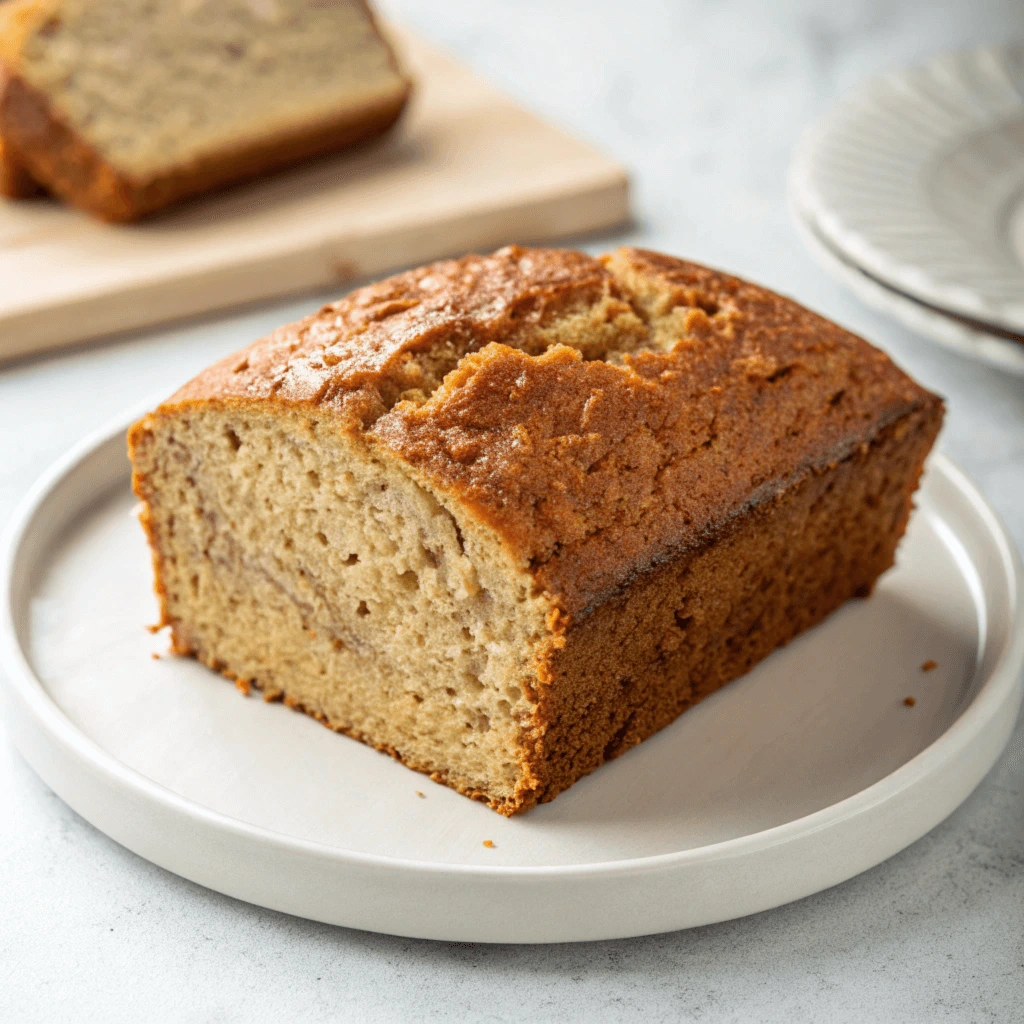
Serving and Enjoying Gluten-Free Banana Bread
Presentation Tips:
Presentation plays a crucial role in enhancing the dining experience. Here are some tips to present your gluten-free banana bread beautifully:
- Slicing and Plating:
- Use a sharp serrated knife to cut even slices of banana bread. This helps to maintain the structure and prevent crumbling.
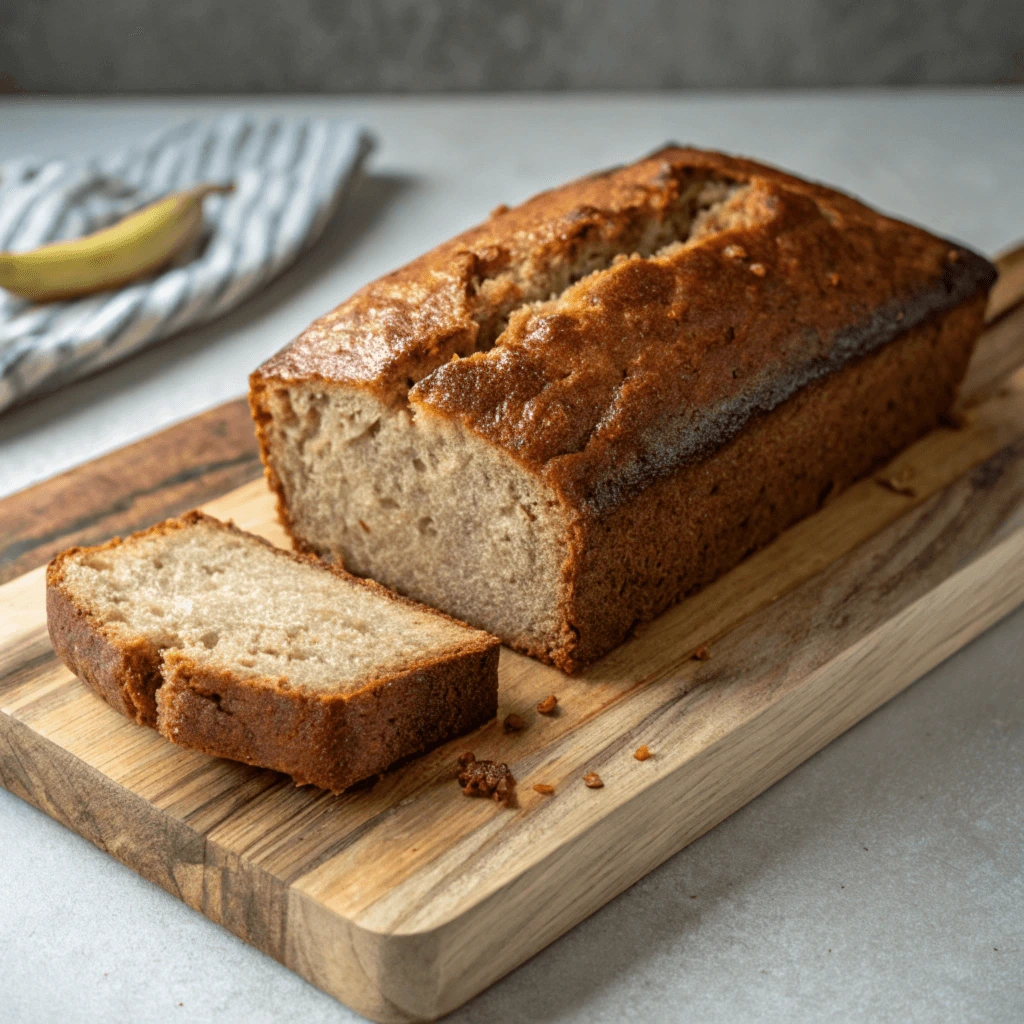
- Arrange the slices on a rustic wooden board or a decorative platter for an appealing presentation.
- Garnishing:
- Sprinkle a light dusting of powdered sugar or a drizzle of glaze over the banana bread for a touch of sweetness and visual appeal.
- Add fresh fruit, such as sliced bananas or berries, around the platter. This not only adds color but also complements the flavors of the banana bread.
- Include a few sprigs of fresh mint or edible flowers for an elegant and refreshing touch.
- Serving Temperature:
- Gluten-free banana bread can be enjoyed warm or at room temperature. For a warm treat, heat slices in the oven or microwave for a few seconds before serving.
Pairing Suggestions:
Complement your gluten-free banana bread with these delicious pairings to create a well-rounded and enjoyable experience:
- Beverages:
- Coffee: A cup of freshly brewed coffee pairs wonderfully with the rich, sweet flavors of banana bread. Try pairing it with a latte or a cappuccino for a creamy contrast.
- Tea: Herbal teas, such as chamomile or peppermint, provide a light and refreshing complement. For a more robust option, consider pairing with chai tea, which adds a spicy and aromatic touch.
- Milk Alternatives: Enjoy your banana bread with a glass of almond milk, oat milk, or coconut milk. These dairy-free options pair well with the flavors and are perfect for those with dietary restrictions.
- Spreads and Toppings:
- Nut Butter: Spread a generous layer of almond butter, peanut butter, or cashew butter on each slice for added richness and protein.
- Vegan Cream Cheese: A dollop of vegan cream cheese adds a creamy and tangy contrast to the sweetness of the banana bread.
- Fruit Preserves: Enhance the flavor with a spoonful of fruit preserves or jam. Strawberry, raspberry, or blueberry preserves work particularly well.
- Sides:
- Fresh Fruit Salad: A colorful fruit salad made with a variety of fresh fruits adds a refreshing and healthy side.
- Yogurt Parfait: Layer dairy-free yogurt with granola and fresh berries for a delicious and nutritious accompaniment.
Storing and Freezing Leftovers:
To ensure your gluten-free banana bread stays fresh and maintains its flavor, follow these storage and freezing tips:
- Storing Leftovers:
- Once the banana bread has completely cooled, wrap it tightly in plastic wrap or store it in an airtight container. This helps to keep the bread moist and prevent it from drying out.
- Store the wrapped banana bread at room temperature for up to 3 days. For longer storage, refrigerate it for up to a week.
- Freezing Leftovers:
- To freeze banana bread, first slice it into individual portions. This makes it easier to thaw and enjoy later.
- Wrap each slice in plastic wrap and then place the wrapped slices in a freezer-safe bag or container. Label the container with the date for easy tracking.
- Frozen banana bread can be stored for up to 3 months. To thaw, simply leave the slices at room temperature or microwave them for a quick option.
Conclusion
Recap of Key Points:
In this comprehensive guide, we’ve explored the art of making traditional Spanish paella. From understanding the significance and history of this iconic dish to selecting the essential ingredients, each step is designed to help you create an authentic and flavorful paella. We covered how to prepare and cook the paella, including the critical stages of making the sofrito and achieving the perfect socarrat. We also provided tips for customizing your paella to suit different dietary preferences and flavor profiles. Finally, we discussed serving and enjoying your paella, with suggestions for a beautiful presentation, complementary side dishes, and proper storage of leftovers.
Encouragement to Try the Recipe:
Making paella at home is a rewarding experience that allows you to bring the flavors of Spain into your kitchen. Whether you’re cooking for a family gathering or a special occasion, this traditional dish is sure to impress. The process might seem intricate, but with patience and attention to detail, you can master it. Don’t be afraid to experiment with different ingredients and make the recipe your own. The joy of paella lies in its versatility and the ability to adapt to what you have on hand. So gather your ingredients, grab your paellera, and start cooking. Your taste buds will thank you!
We hope you found this guide helpful and inspiring. If you try out this traditional paella recipe, we’d love to hear about your experience! Share your results in the comments below and let us know if you made any modifications or tried different variations. Your feedback and ideas can inspire others to get creative in the kitchen. If you enjoyed this post, don’t forget to subscribe to our blog for more delicious recipes, cooking tips, and food inspiration. Follow us on social media for the latest updates and to join our community of food enthusiasts. Let’s continue exploring the rich flavors of Spanish cuisine together!


1 thought on “How to Make Gluten-Free Banana Bread: A Step-by-Step Guide”