Introduction to Granola Bars
Benefits of Homemade Granola Bars
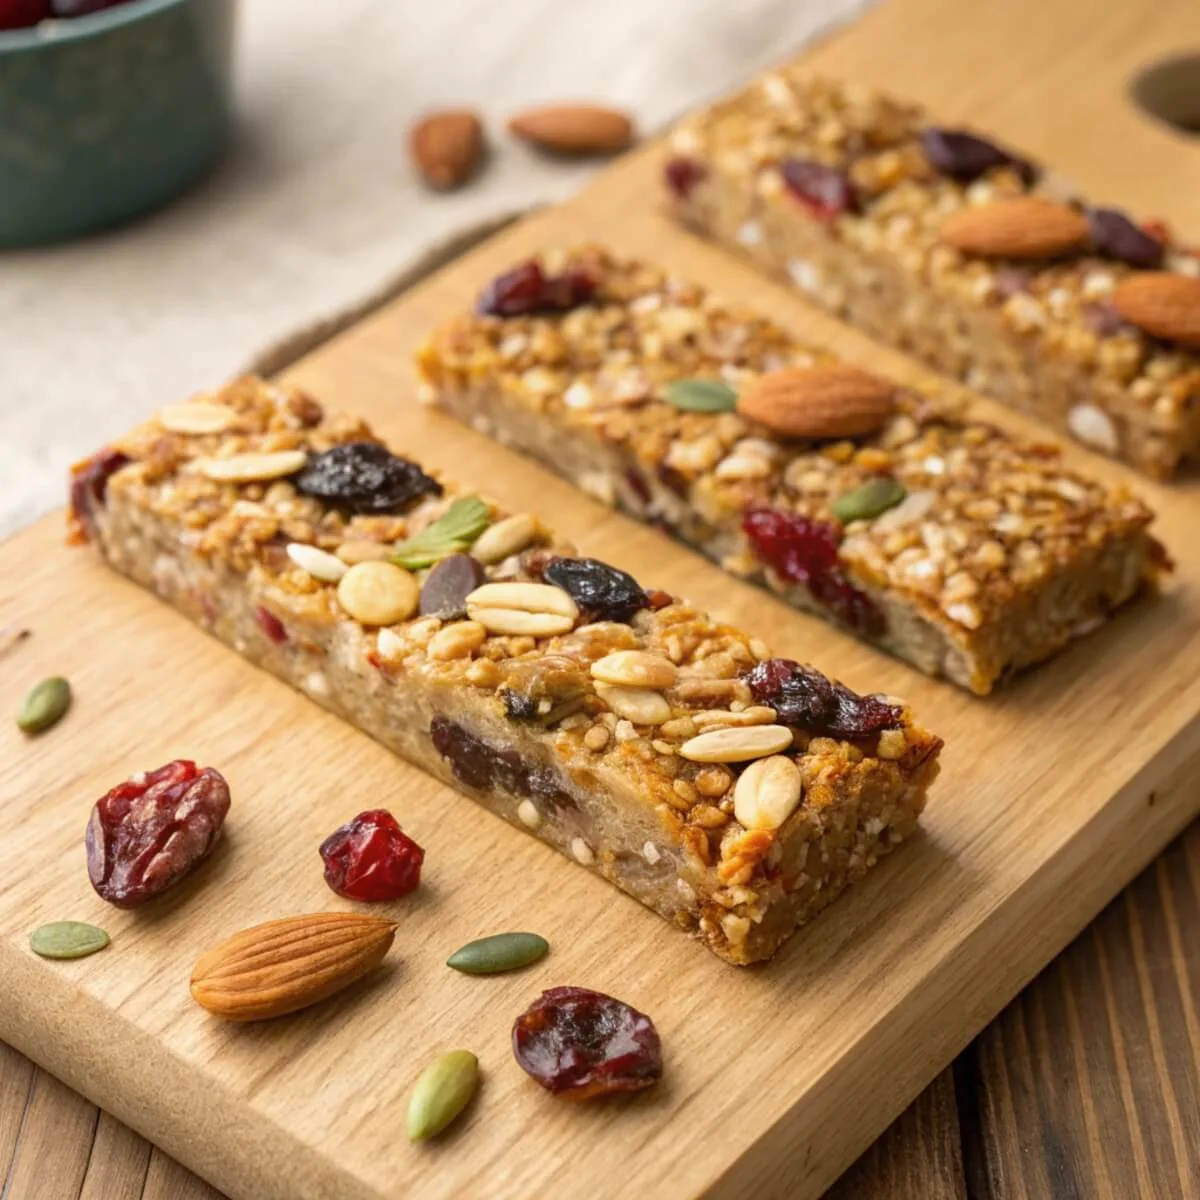
Homemade granola bars are not only delicious but also incredibly versatile and nutritious. By making them at home, you have complete control over the ingredients, ensuring that your snacks are free from preservatives, artificial flavors, and excessive sugars often found in store-bought versions. You can customize them to suit your dietary needs and preferences, whether you’re aiming for gluten-free, vegan, or protein-packed options. Homemade granola bars are a convenient and portable snack, perfect for on-the-go breakfasts, midday energy boosts, or post-workout refueling.
Popularity of Granola Bars as a Healthy Snack
Granola bars have gained immense popularity as a go-to healthy snack for people of all ages. Their balanced combination of carbohydrates, proteins, and healthy fats makes them an ideal choice for maintaining energy levels throughout the day. They are particularly favored by athletes, busy professionals, and parents looking for nutritious snacks for their kids. With a wide variety of flavors and ingredients to choose from, granola bars cater to diverse tastes and dietary requirements, making them a universally appealing snack option.
Overview of the Step-by-Step Recipe
In this blog post, we’ll guide you through the easiest way to make granola bars from scratch. Our step-by-step recipe is designed to be simple and straightforward, ensuring that even novice cooks can successfully create these tasty treats. We’ll cover everything from selecting the essential ingredients to mixing and pressing the mixture into a pan. You’ll learn how to achieve the perfect texture, whether you prefer chewy or crunchy bars, and discover tips for adding your favorite mix-ins for extra flavor and nutrients. By the end of this guide, you’ll have all the knowledge you need to whip up a batch of homemade granola bars that are both healthy and delicious.
Essential Ingredients for Granola Bars
Key Ingredients for Flavor and Texture
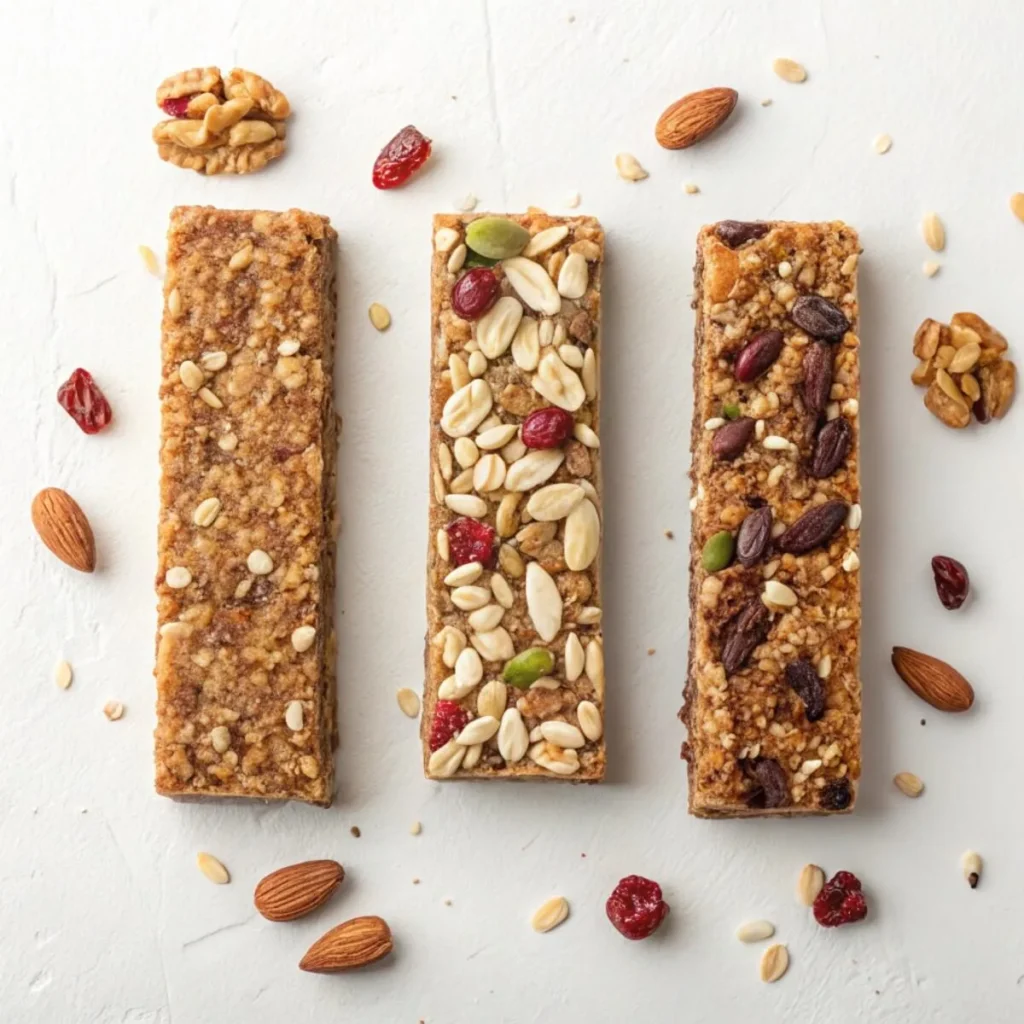
To create the perfect granola bars, you’ll need a combination of the following essential ingredients that contribute to their delicious flavor and satisfying texture:
- Rolled Oats – 2 cups (200g)
- Macros (per 100g): 379 Calories, 13g Protein, 66g Carbs, 7g Fat
- Nut Butter – 1/2 cup (128g) (e.g., peanut butter or almond butter)
- Macros (per 32g): 190 Calories, 7g Protein, 6g Carbs, 16g Fat
- Honey – 1/3 cup (113g)
- Macros (per 15g): 64 Calories, 0g Protein, 17g Carbs, 0g Fat
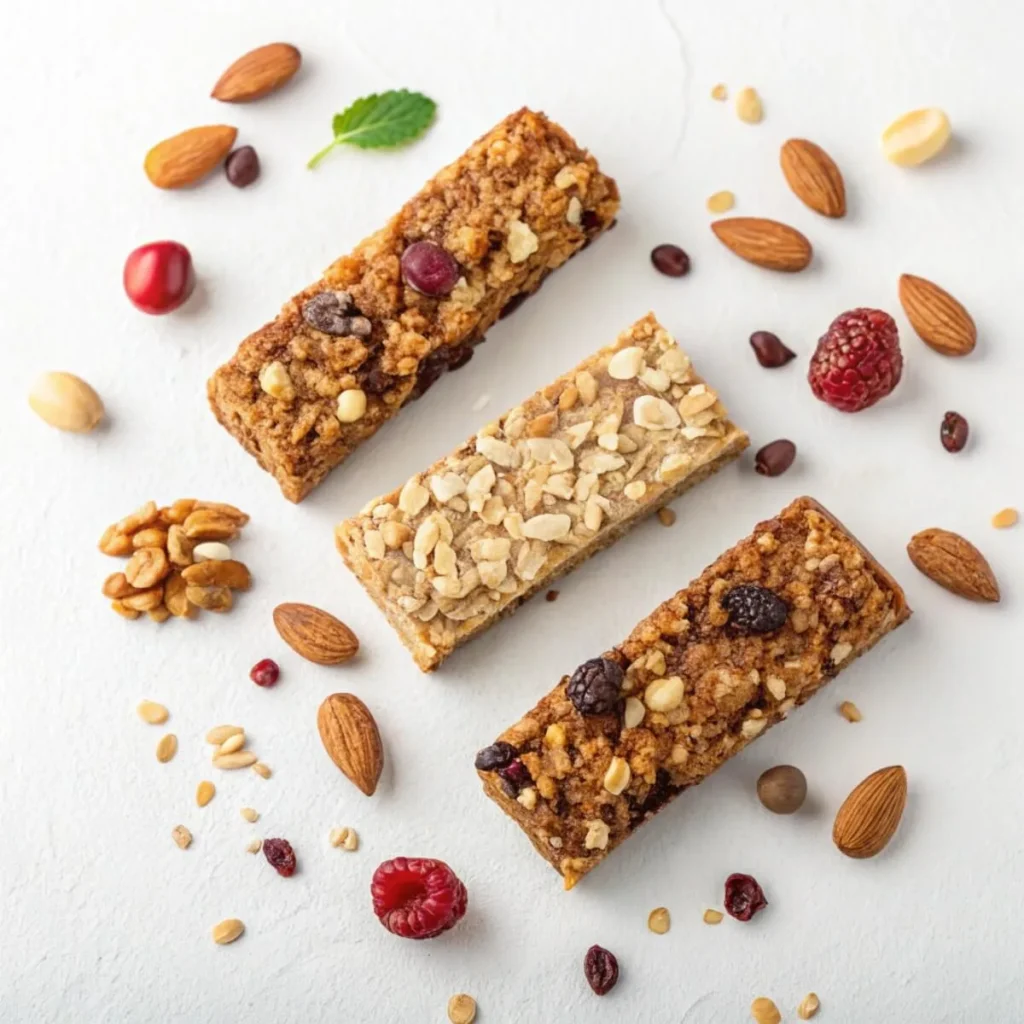
- Chopped Nuts – 1/2 cup (60g) (e.g., almonds or walnuts)
- Macros (per 28g): 185 Calories, 4g Protein, 4g Carbs, 18g Fat
- Dried Fruits – 1/2 cup (70g) (e.g., raisins, dried cranberries, or chopped dates)
- Macros (per 40g): 114 Calories, 1g Protein, 30g Carbs, 0g Fat
- Seeds – 1/4 cup (40g) (e.g., chia seeds or sunflower seeds)
- Macros (per 15g chia seeds): 73 Calories, 2.5g Protein, 6g Carbs, 4.5g Fat
- Vanilla Extract – 1 teaspoon (5g)
- Macros (per 5g): 12 Calories, 0g Protein, 1.6g Carbs, 0g Fat
- Cinnamon – 1 teaspoon (2.6g)
- Macros (per 2.6g): 7 Calories, 0g Protein, 2g Carbs, 0g Fat
- Salt – Pinch (0.5g)
- Macros (per 0.5g): 0 Calories, 0g Protein, 0g Carbs, 0g Fat
Substitutions and Variations for Dietary Needs
Granola bars are highly adaptable, and you can easily make substitutions to suit your dietary preferences or restrictions:
- Gluten-Free: Use certified gluten-free rolled oats to ensure your granola bars are safe for those with gluten intolerance or celiac disease.
- Vegan: Replace honey with maple syrup or agave syrup, and use plant-based nut butter and chocolate chips.
- Nut-Free: Opt for sunflower seed butter or tahini instead of nut butter, and substitute nuts with seeds like pumpkin seeds or flaxseeds.
- Low-Sugar: Reduce the amount of sweeteners or use sugar-free alternatives like stevia or monk fruit sweetener.
Adding Mix-Ins for Extra Nutrients and Flavor
One of the best aspects of making granola bars at home is the ability to customize them with your favorite mix-ins. Here are some ideas to enhance the flavor and nutritional profile of your bars:
- Protein Boost: Add 1/4 cup (30g) of protein powder or collagen peptides to make your granola bars a great post-workout snack.
- Macros (per 30g protein powder): 120 Calories, 24g Protein, 2g Carbs, 1g Fat
- Superfoods: Incorporate 2 tablespoons (20g) of ingredients like goji berries, cacao nibs, or spirulina for an extra dose of antioxidants and vitamins.
- Macros (per 20g goji berries): 70 Calories, 3g Protein, 16g Carbs, 0g Fat
- Chocolate Lovers: Mix in 1/4 cup (43g) of dark chocolate chips, cocoa powder, or drizzle melted chocolate over the bars for a decadent treat.
- Macros (per 43g dark chocolate chips): 216 Calories, 2.5g Protein, 25g Carbs, 13g Fat
- Spices: Experiment with spices like ginger, nutmeg, or cardamom to add unique and warming flavors. Use 1 teaspoon (2g) of your chosen spice.
- Macros (per 2g ginger): 8 Calories, 0.2g Protein, 1.8g Carbs, 0g Fat
Step-by-Step Guide to Making Granola Bars
Preparing the Dry Ingredients
- Measure the Oats: Start by measuring 2 cups of rolled oats and place them in a large mixing bowl. Oats form the base of your granola bars and provide a chewy texture.
- Add Nuts and Seeds: Add 1/2 cup of chopped nuts (such as almonds or walnuts) and 1/4 cup of seeds (such as chia seeds or sunflower seeds) to the oats. These ingredients add crunch and essential nutrients.
- Incorporate Dried Fruits: Stir in 1/2 cup of dried fruits (such as raisins, dried cranberries, or chopped dates). These add natural sweetness and chewiness to the bars.
- Mix in Flavor Enhancers: Add 1 teaspoon of cinnamon and a pinch of salt to the mixture. These enhance the overall flavor of the granola bars.
Mixing the Wet Ingredients
- Warm the Nut Butter and Sweetener: In a small saucepan, combine 1/2 cup of nut butter (such as peanut butter or almond butter) and 1/3 cup of honey or maple syrup. Warm over low heat, stirring until the mixture is smooth and well combined.
- Add Vanilla Extract: Remove the saucepan from heat and stir in 1 teaspoon of vanilla extract. This adds a rich, aromatic flavor to the bars.
- Combine Wet and Dry Ingredients: Pour the warm mixture over the dry ingredients in the mixing bowl. Use a spatula to mix thoroughly, ensuring all the dry ingredients are evenly coated.
Combining and Pressing the Mixture into a Pan
- Prepare the Baking Pan: Line an 8×8 inch baking pan with parchment paper, leaving some overhang for easy removal later.
- Transfer the Mixture: Pour the granola mixture into the prepared pan. Use a spatula to spread it out evenly.
- Press Firmly: Use the back of a spoon or a flat-bottomed glass to press the mixture firmly into the pan. This step is crucial for ensuring the bars hold together once they set.
Tips for No-Bake Granola Bars
- Chill the Bars: Place the pan in the refrigerator and chill for at least 2 hours, or until the mixture is firm and set.
- Cutting the Bars: Once the bars are set, use the parchment paper overhang to lift the entire block out of the pan. Place it on a cutting board and use a sharp knife to cut it into bars or squares.
- Storage: Store the granola bars in an airtight container. They can be kept at room temperature for up to a week, or in the refrigerator for up to two weeks.
Tips and Tricks for Perfect Granola Bars
How to Achieve the Ideal Texture
- Balance Wet and Dry Ingredients: Achieving the perfect texture in granola bars often comes down to the right balance of wet and dry ingredients. If your mixture is too wet, the bars might turn out sticky and won’t hold their shape. Conversely, if it’s too dry, the bars can become crumbly. Start with the recommended ratios and adjust slightly as needed. If the mixture feels too dry, add a bit more honey or nut butter. If it’s too wet, mix in a few more oats.
- Press Firmly: One of the most crucial steps for perfect granola bars is pressing the mixture firmly into the pan. Use the back of a spoon, a flat-bottomed glass, or even your hands to compact the mixture tightly. This helps the ingredients bind together, resulting in firm, cohesive bars.
- Chill Properly: Allowing the granola bars to chill in the refrigerator for at least 2 hours is essential. This step solidifies the mixture, making it easier to cut the bars into clean, even pieces. For an extra-firm texture, you can freeze the bars for about 30 minutes before cutting.
Storing and Preserving Granola Bars
- Airtight Containers: Store granola bars in an airtight container to keep them fresh and maintain their texture. This prevents them from absorbing moisture from the air, which can make them soft or stale.
- Room Temperature or Refrigeration: Granola bars can be stored at room temperature for up to a week. For longer storage, keep them in the refrigerator, where they can last for up to two weeks. If you prefer a chewier texture, let them come to room temperature before eating.
- Freezing for Longer Shelf Life: If you want to keep granola bars for an extended period, freezing is a great option. Wrap each bar individually in plastic wrap or parchment paper, then place them in a freezer-safe bag or container. They can be frozen for up to 3 months. Thaw them at room temperature or enjoy them straight from the freezer for a firmer bite.
Creative Presentation and Packaging Ideas
- Individually Wrapped Bars: For convenience and portability, wrap each granola bar individually in parchment paper or wax paper. Tie them with a piece of twine or ribbon for a charming, homemade look. This also makes them easy to grab on the go or pack in lunchboxes.
- Decorative Tins or Boxes: If you’re gifting homemade granola bars, consider packaging them in decorative tins or boxes. Line the container with parchment paper and arrange the bars neatly inside. This not only keeps the bars fresh but also adds a personal touch to your gift.
- Labeling and Personalization: Create custom labels or tags for your granola bars, noting the flavor or any special ingredients. This is especially useful if you’ve made multiple varieties. Personalized labels can also include the date they were made and storage instructions.
- Serving Platters: For parties or gatherings, arrange the granola bars on a serving platter. Garnish the platter with fresh fruit, nuts, or edible flowers for a beautiful presentation. This makes the bars look inviting and adds a touch of elegance to your spread.
Serving and Enjoying Granola Bars
Pairing Granola Bars with Beverages
- Coffee or Tea: they pair wonderfully with a hot cup of coffee or tea. Whether you prefer a strong espresso, a comforting latte, or an herbal tea, the flavors of the granola bars complement these beverages beautifully. The natural sweetness of the bars balances the bitterness of coffee or the subtle notes of tea.
- Smoothies: Enjoy granola bars with a nutrient-packed smoothie for a refreshing and satisfying breakfast or snack. Blend your favorite fruits, vegetables, and a protein source like yogurt or protein powder. The granola bars provide a chewy contrast to the creamy smoothie.
- Milk or Plant-Based Milk: A glass of cold milk or plant-based milk (like almond, oat, or soy milk) is a classic pairing with granola bars. The creaminess of the milk complements the crunchy and chewy textures of the bars, making for a delightful and nutritious combination.
Incorporating Granola Bars into Meal Plans
- Breakfast On-the-Go: Granola bars are a convenient and portable breakfast option for busy mornings. Pair them with a piece of fruit and a yogurt for a balanced meal that provides sustained energy throughout the day.
- Midday Snack: Keep your bars on hand for a quick and satisfying midday snack. They are perfect for curbing hunger between meals and can be easily packed in a lunchbox, purse, or backpack.
- Post-Workout Refuel: After a workout, these bars can help replenish glycogen stores and provide protein for muscle recovery. Pair them with a protein shake or a piece of fruit for a well-rounded post-exercise snack.
Customizing Granola Bars for Different Occasions
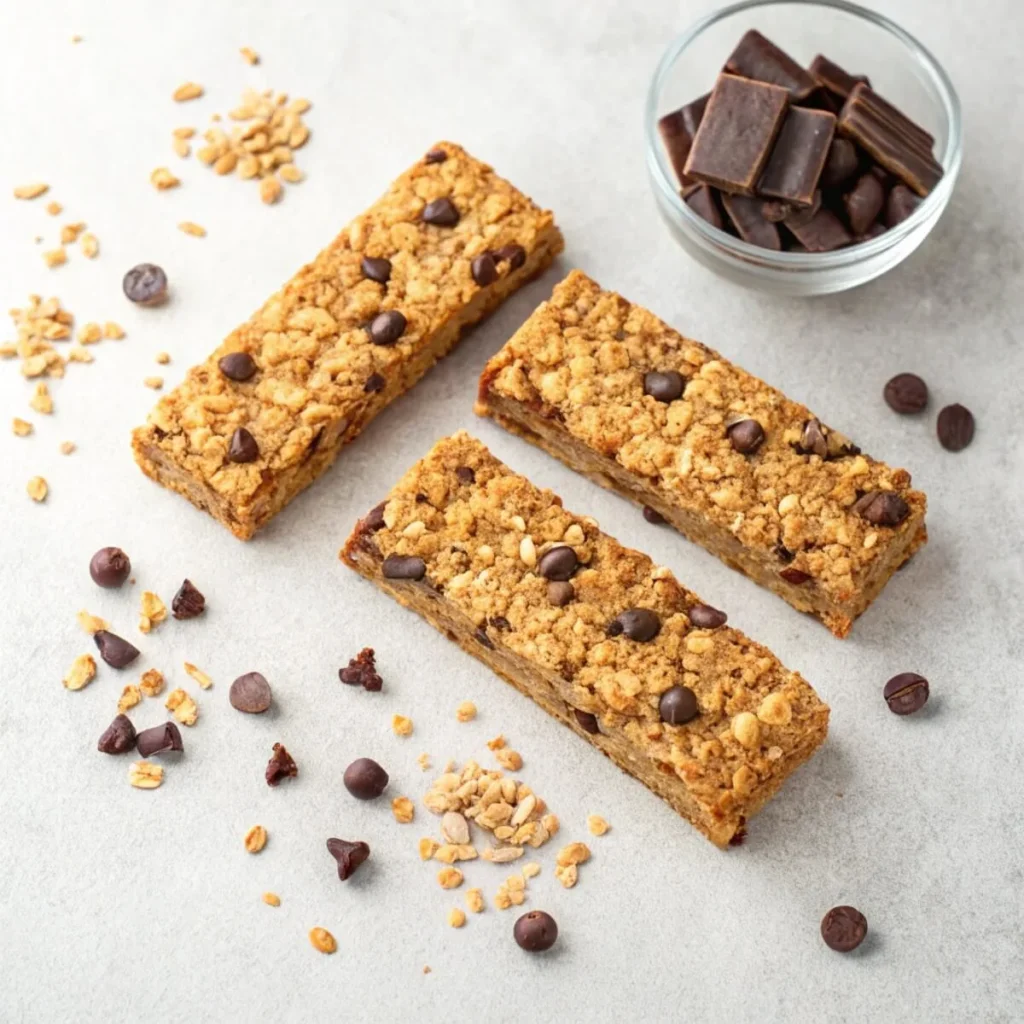
- Kid-Friendly Snacks: Make them more appealing to children by adding fun mix-ins like chocolate chips, colorful dried fruits, or a drizzle of melted chocolate. You can also use cookie cutters to shape the bars into fun shapes.
- Holiday Variations: Customize your granola bars to reflect the flavors of different holidays. For instance, add dried cranberries and white chocolate chips for a festive Christmas treat, or use pumpkin seeds and spices like cinnamon and nutmeg for a fall-inspired bar.
- Gifts and Party Favors: Homemade granola bars make thoughtful gifts and party favors. Wrap them individually in parchment paper and tie with a ribbon or twine. You can also include a handwritten recipe card to share the love of your homemade bars.
FAQs
Can I make granola bars without oats?
- Answer: Yes, you can make them without oats. Some alternatives include using puffed rice, quinoa flakes, or crushed cereal as the base. These ingredients can provide a similar texture and bind well with other ingredients. Experimenting with different bases can lead to new and exciting variations of granola bars that cater to different tastes and dietary preferences.
How can I make my granola bars less crumbly?
- Answer: To prevent them from being too crumbly, ensure that you have the right balance of wet and dry ingredients. Using a sticky binder such as honey, maple syrup, or nut butter can help hold the ingredients together. Press the mixture firmly into the pan to compact it, and allow the bars to chill properly before cutting. If your bars still crumble, consider adding more of the binder or reducing the dry ingredients slightly.
Can I use honey instead of syrup in the recipe?
- Answer: Absolutely! Honey is a great natural sweetener that can be used instead of maple syrup or other syrups in granola bar recipes. It adds a rich flavor and acts as an excellent binder, helping to keep the bars together. If you prefer a different type of syrup, such as agave or brown rice syrup, you can use those as well. Just make sure to maintain the same overall consistency to ensure the bars hold their shape.
How long do homemade granola bars last?
- Answer: Homemade granola bars can be stored at room temperature in an airtight container for up to a week. If you want to extend their shelf life, store them in the refrigerator, where they can last for up to two weeks. For even longer storage, you can freeze granola bars for up to three months. Be sure to wrap them individually in plastic wrap or parchment paper before placing them in a freezer-safe bag or container.
Can I add protein powder to granola bars?
- Answer: Yes, you can add protein powder to granola bars to increase their protein content, making them an excellent post-workout snack. Simply mix the protein powder with the dry ingredients before combining with the wet ingredients. Depending on the type and flavor of protein powder, you may need to adjust the amount of sweetener or add a bit more liquid to ensure the right consistency. Flavored protein powders can also enhance the overall taste of the granola bars.
Are granola bars suitable for kids?
- Answer: They can be a nutritious and convenient snack for kids, especially when made at home with wholesome ingredients. You can customize them to suit your child’s preferences and dietary needs. Add fun and kid-friendly mix-ins like mini chocolate chips, dried fruits, or colorful sprinkles. Ensure that any nuts or seeds are safe for your child’s age and dietary restrictions. Granola bars are perfect for lunchboxes, after-school snacks, or on-the-go treats.
Can I make granola bars without baking?
- Answer: Yes, no-bake granola bars are a popular and easy option. Instead of baking, you’ll simply press the mixture into a pan and refrigerate it until set. No-bake recipes often use ingredients like nut butter and honey to bind the bars together without the need for heat. This method is quick and convenient, allowing you to enjoy homemade granola bars without turning on the oven.
Conclusion
With all the information and guidance provided, you’re now equipped to make your own delicious and healthy granola bars at home. Whether you’re a seasoned cook or a beginner in the kitchen, this recipe is designed to be easy and foolproof. Homemade granola bars offer the perfect balance of taste and nutrition, making them an excellent addition to your snack repertoire. Don’t hesitate to experiment with different ingredients and flavors to create granola bars that suit your taste and dietary preferences. The process of making granola bars is not only rewarding but also a fun and creative activity that you can enjoy with family and friends.
Thank you for joining us in exploring the art of making granola bars. Happy cooking, and enjoy every bite!

