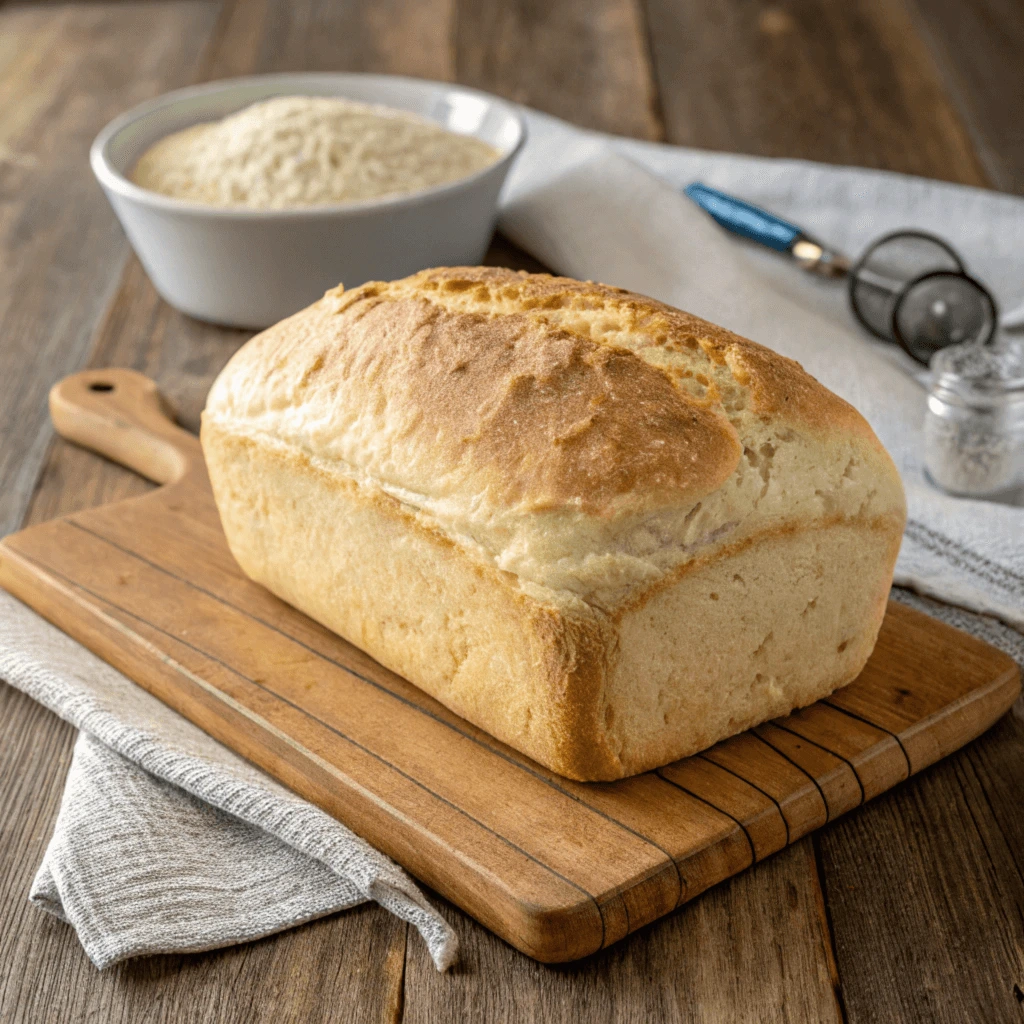
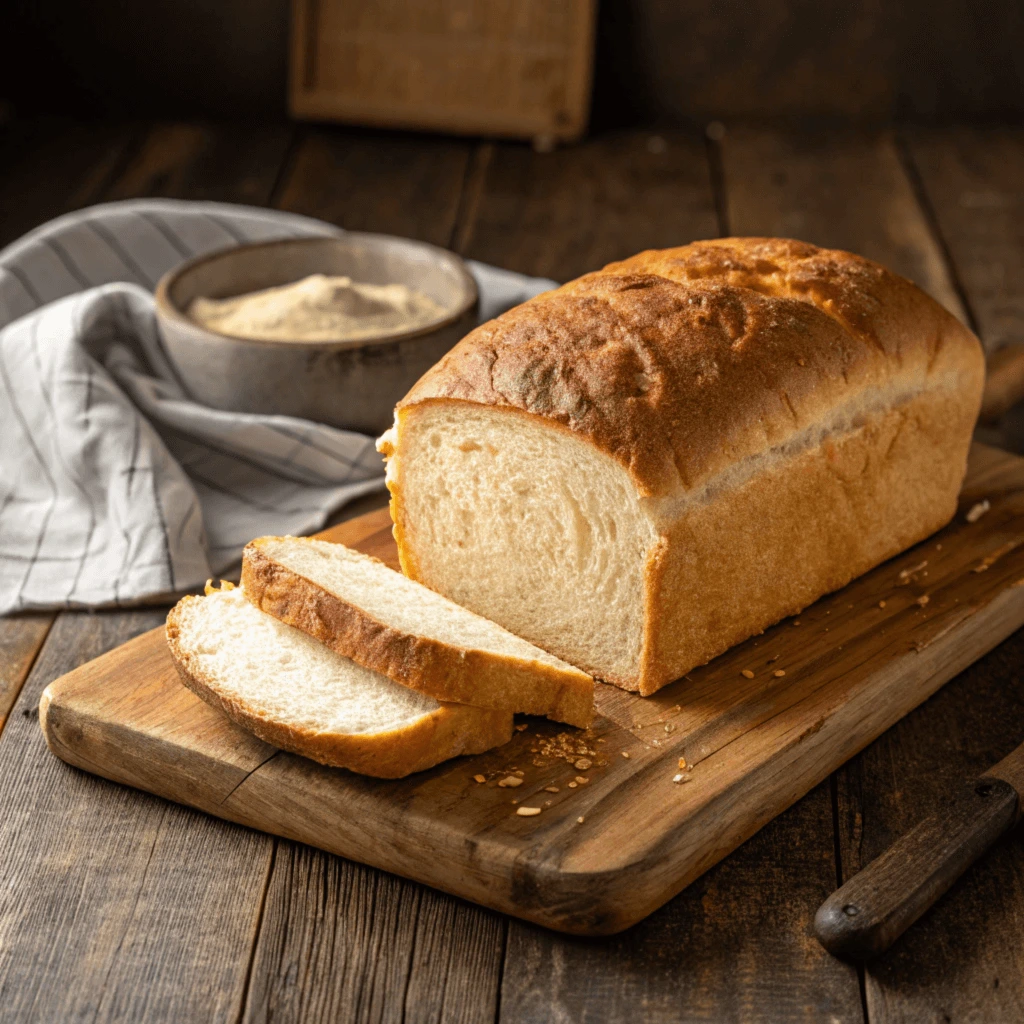
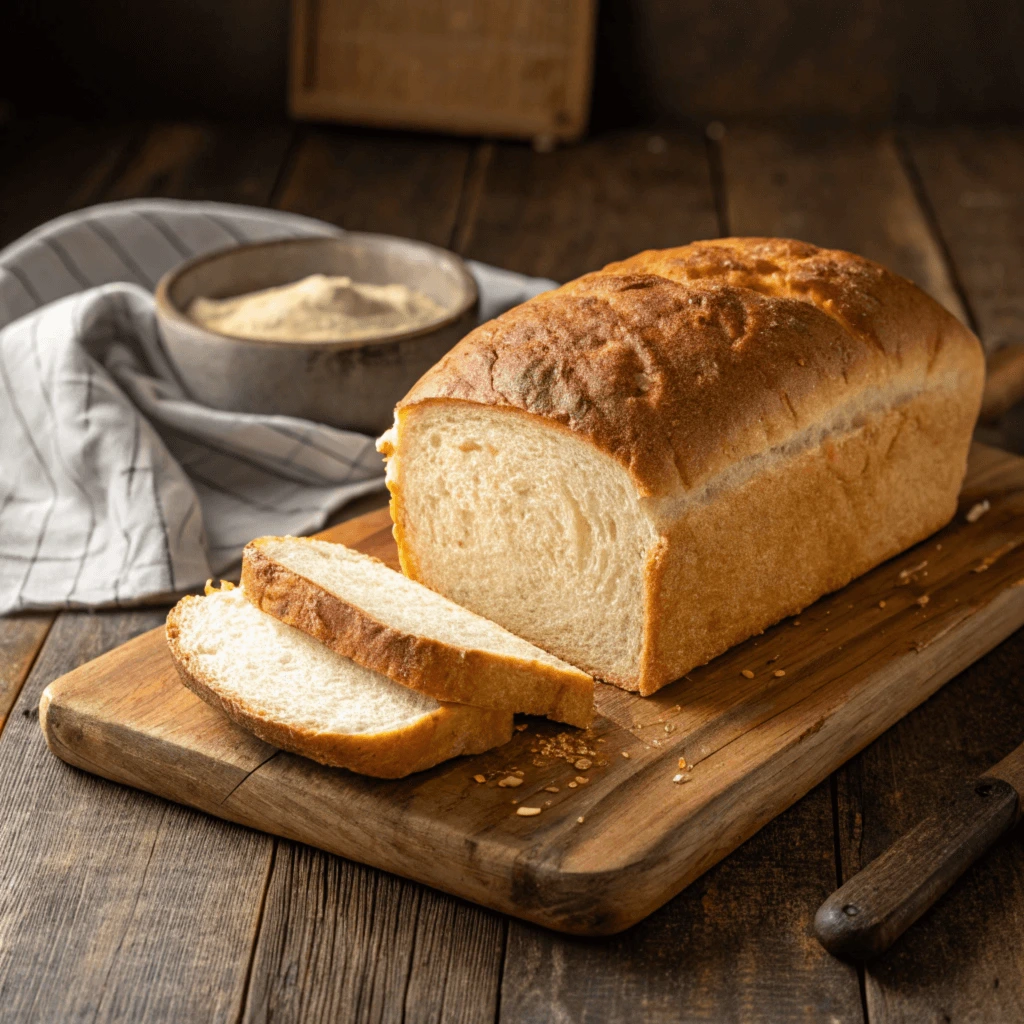
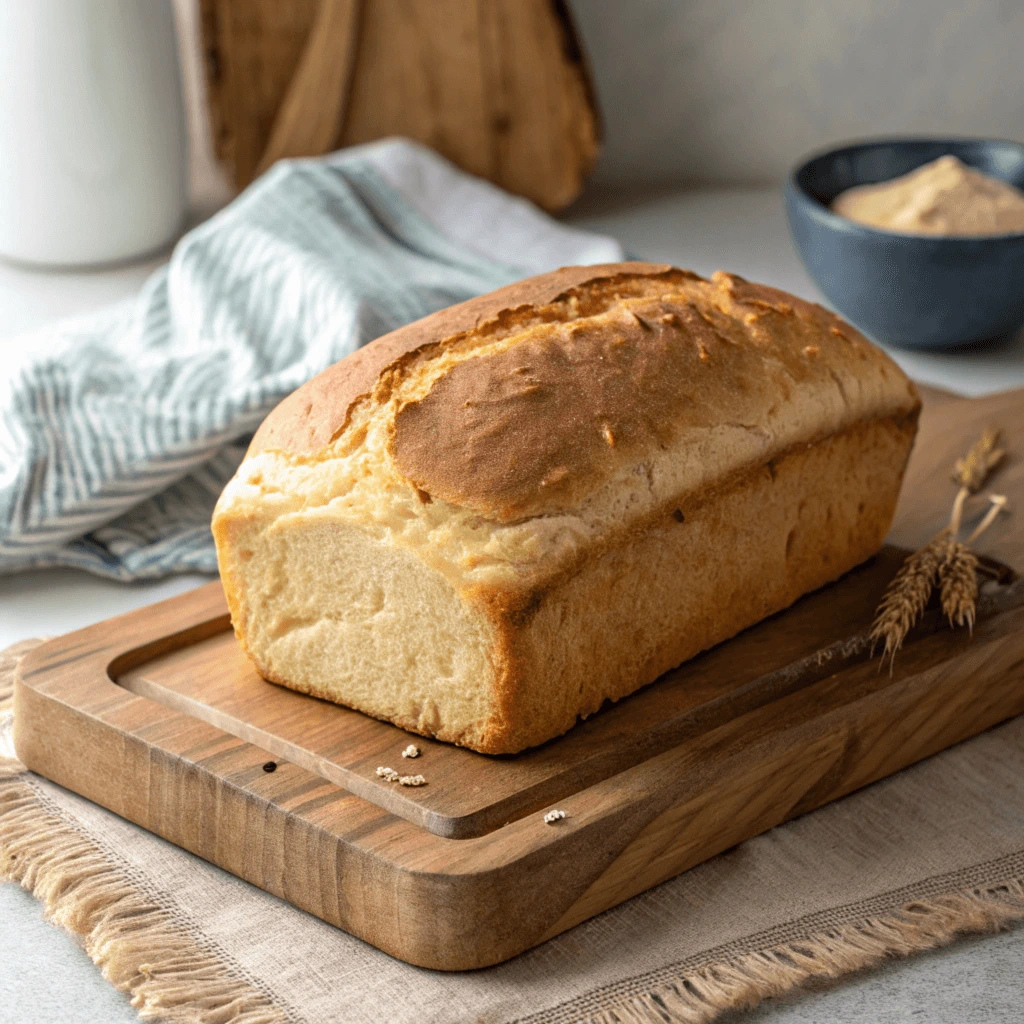
Introduction to the Best Gluten-Free Bread Recipe
In today’s fast-paced world, maintaining a healthy lifestyle has become more important than ever. One of the key components of a healthy diet is choosing the right foods, and for many people, that means incorporating gluten-free options. Whether due to gluten intolerance, celiac disease, or simply a desire to improve overall well-being, gluten-free diets have gained popularity for their potential health benefits.
The Benefits of Gluten-Free Bread
Choosing the Best Gluten-Free Bread Recipe offers a great alternative for those who need or prefer to avoid gluten. Unlike traditional bread made from wheat, barley, or rye, gluten-free bread is crafted from flours that do not contain gluten, such as almond flour, coconut flour, or a blend of various gluten-free flours. This makes it accessible to individuals with gluten sensitivities and those looking to explore diverse dietary options.
Embracing a Healthy Lifestyle
Adopting a healthy lifestyle involves more than just choosing the right ingredients. It’s about making informed choices that contribute to overall wellness. Gluten-free bread, when made with wholesome, nutrient-rich ingredients, can be an integral part of a balanced diet. By opting for homemade gluten-free bread using the Best Gluten-Free Bread Recipe, you gain control over the quality and nutritional content of your food, ensuring that it aligns with your health goals.
Simple and Nutrient-Dense Recipe
One of the best aspects of making gluten-free bread at home is its simplicity. With a few key ingredients and straightforward steps, you can create a delicious loaf that rivals any store-bought version. Not only is homemade gluten-free bread easy to make, but it also allows you to customize the recipe to suit your taste preferences and dietary needs.
In this blog post, we will guide you through a step-by-step process to make the Best Gluten-Free Bread Recipe for a healthy lifestyle. You’ll learn about the ingredients and their benefits, preparation steps, baking instructions, and serving suggestions. Whether you’re new to gluten-free baking or a seasoned pro, this recipe is sure to become a favorite in your kitchen.

Ingredients of the Best Gluten-Free Bread Recipe and Their Benefits
The ingredients for the Best Gluten-Free Bread Recipe are carefully selected to ensure not only a delicious taste but also a range of nutritional benefits. Each ingredient plays a crucial role in achieving the perfect texture, flavor, and healthfulness of the bread.
Gluten-Free Flours
- Almond Flour: Almond flour is a popular gluten-free option that adds a rich, nutty flavor to the bread. It’s packed with protein, healthy fats, and fiber, making it an excellent choice for a nutritious diet. Almond flour is also a good source of vitamin E, magnesium, and potassium.
- Coconut Flour: Coconut flour is another gluten-free staple known for its slightly sweet flavor and high fiber content. It’s low in carbohydrates and provides essential nutrients like iron and healthy fats. Coconut flour helps create a light and fluffy texture in the bread.
- Gluten-Free All-Purpose Flour: A blend of gluten-free flours, such as rice flour, tapioca starch, and potato starch, can provide a well-rounded base for gluten-free baking. These blends are often fortified with vitamins and minerals to enhance their nutritional profile and mimic the texture of traditional wheat flour.
Starches and Binders
- Cornstarch: Cornstarch acts as a thickener and binder in gluten-free baking, helping to create a cohesive dough and improve the bread’s structure. It also adds a light, airy texture to the bread.
- Potato Starch: Potato starch contributes to the bread’s softness and moisture. It helps retain moisture during baking, resulting in a tender crumb.
- Tapioca Starch: Tapioca starch is a versatile ingredient that enhances the bread’s chewiness and elasticity. It also adds a slight sweetness and helps achieve a golden-brown crust.
- Xanthan Gum: Xanthan gum is a key ingredient in gluten-free baking that acts as a stabilizer and emulsifier. It mimics the binding properties of gluten, providing structure and preventing the bread from crumbling.
Essential Ingredients
- Eggs: Eggs are crucial for adding moisture, structure, and richness to the bread. They help bind the ingredients together and contribute to the bread’s rise and texture. Eggs are also a good source of protein, vitamins, and minerals.
- Olive Oil: Olive oil adds healthy fats and a subtle, savory flavor to the bread. It’s rich in monounsaturated fats, which are known for their heart-healthy benefits. Olive oil also helps keep the bread moist and tender.
- Apple Cider Vinegar: Apple cider vinegar acts as a natural leavening agent, helping the bread rise and achieve a light, fluffy texture. It also adds a slight tangy flavor that enhances the overall taste of the bread.
- Warm Water: Warm water is used to activate the yeast and create a dough with the right consistency. Proper hydration is essential for achieving a smooth and well-mixed batter.
Optional Add-ins
- Seeds: Adding seeds like chia seeds, flaxseeds, or sunflower seeds can boost the bread’s nutritional value and add a delightful crunch. Seeds are rich in omega-3 fatty acids, fiber, and essential minerals.
- Dried Fruits: Incorporating dried fruits like raisins, cranberries, or apricots adds natural sweetness and additional vitamins and antioxidants. Dried fruits can also provide a chewy texture and bursts of flavor.
- Herbs: Fresh or dried herbs like rosemary, thyme, or oregano can enhance the bread’s flavor and add aromatic notes. Herbs also offer various health benefits, including anti-inflammatory and antioxidant properties.

Baking the Bread
The baking process is crucial for achieving the perfect texture and flavor in the Best Gluten Free Bread Recipe. By following these steps, you can ensure your bread bakes evenly and comes out deliciously golden and fluffy.
Preparing the Loaf Pan
- Greasing the Pan: Start by thoroughly greasing a 9×5 inch loaf pan with oil or butter. This step prevents the bread from sticking to the pan and makes it easier to remove after baking.
- Lining with Parchment Paper: For extra assurance, you can line the loaf pan with parchment paper, allowing some of the paper to hang over the sides. This creates a “sling” that helps lift the bread out of the pan easily.
- Dusting with Flour: Optionally, you can dust the greased and lined pan with a bit of gluten-free flour to further prevent sticking and to give the bread a nice crust.
Baking Instructions
- Preheating the Oven: Preheat your oven to 375°F (190°C). A well-preheated oven ensures even baking and helps the bread rise properly.
- Pouring the Batter: Pour the prepared batter into the loaf pan, smoothing the top with a spatula. The batter should fill the pan about two-thirds of the way to allow room for rising.
- Optional Toppings: If desired, sprinkle the top of the batter with gluten-free oats, seeds, or nuts for added texture and flavor.
Temperature and Time Guidelines
- Initial Baking: Place the loaf pan in the preheated oven and bake for 45-50 minutes. Keep the oven door closed during this time to maintain a consistent temperature.
- Checking for Doneness: Around the 45-minute mark, check the bread for doneness. Insert a toothpick or a cake tester into the center of the bread. If it comes out clean or with just a few crumbs, the bread is done. If it comes out with wet batter, continue baking for an additional 5-10 minutes.
- Internal Temperature: For more accuracy, you can use an instant-read thermometer to check the internal temperature of the bread. The bread is fully baked when the internal temperature reaches around 200°F (93°C).
Cooling the Bread
- Resting in the Pan: Once the bread is done baking, remove the loaf pan from the oven and let it cool in the pan for about 10 minutes. This rest time allows the bread to set and makes it easier to remove from the pan.
- Transferring to a Wire Rack: After the initial cooling period, use the parchment paper sling or a spatula to carefully lift the bread out of the pan. Place the bread on a wire rack to cool completely. Cooling on a wire rack prevents the bottom of the bread from becoming soggy.
- Slicing: Once the bread is completely cooled, use a serrated knife to slice it into even pieces. Slicing the bread while it’s still warm may cause it to crumble, so patience is key.

Serving Suggestions and Storage Tips
Properly serving and storing your homemade Best Gluten Free Bread ensures that you enjoy its full flavor and texture. Here are some suggestions and tips to make the most out of your delicious bread:
Serving Ideas
- Toast and Spreads: One of the simplest and most delicious ways to enjoy gluten-free bread is to toast it. A warm, crispy slice of toast can be paired with a variety of healthy spreads such as almond butter, avocado, or a drizzle of honey. For a savory option, try spreading a bit of hummus or topping it with sliced tomatoes and a sprinkle of sea salt.
- Sandwiches: Gluten-free bread is perfect for making hearty and nutritious sandwiches. Fill your sandwiches with lean proteins like turkey or chicken, fresh vegetables such as lettuce, cucumber, and bell peppers, and add a spread of mustard or mayonnaise. You can also create a classic grilled cheese sandwich by adding your favorite cheese and grilling until golden and melty.
- Breakfast Options: Incorporate your gluten-free bread into breakfast by making French toast. Dip slices of bread into a mixture of beaten eggs, milk, and a dash of cinnamon, then cook on a hot skillet until golden brown. Serve with fresh berries and a sprinkle of powdered sugar for a delightful breakfast treat.
- Pair with Soups and Salads: Gluten-free bread makes an excellent accompaniment to a bowl of soup or a fresh salad. Serve slices alongside a warm bowl of tomato soup, creamy butternut squash soup, or a hearty chicken noodle soup. For salads, use the bread to make gluten-free croutons by cutting it into cubes, tossing it with olive oil and herbs, and baking until crispy.
Storage Instructions
- Room Temperature Storage: If you plan to consume the bread within a couple of days, store it at room temperature in an airtight container or a resealable plastic bag. This helps maintain its freshness and prevents it from drying out. Avoid storing the bread in the refrigerator, as this can cause it to become stale more quickly.
- Freezing: To extend the shelf life of your gluten-free bread, consider freezing it. Slice the bread before freezing so you can easily take out only the slices you need. Wrap each slice or the entire loaf in plastic wrap, then place it in a resealable freezer bag or an airtight container. Frozen gluten-free bread can be stored for up to 3 months.
- Thawing and Reheating: When you’re ready to enjoy your frozen gluten-free bread, simply remove the desired number of slices and let them thaw at room temperature. You can also reheat the slices in a toaster or oven to restore their fresh-baked texture. For a whole loaf, let it thaw in the refrigerator overnight before reheating in the oven at a low temperature.
Reheating Tips
- Toaster: For a quick and easy reheat, use a toaster. Toast the slices until they are warm and crispy. This method works well for both fresh and frozen bread.
- Oven: If you’re reheating multiple slices or a whole loaf, preheat your oven to 350°F (175°C). Place the bread on a baking sheet and cover it with aluminium foil to prevent it from drying out. Heat for 10-15 minutes or until warmed through. For an extra crispy crust, remove the foil during the last few minutes of heating.
- Microwave: While not the best method for reheating bread, you can use the microwave if you’re in a hurry. Place the bread on a microwave-safe plate and cover it with a damp paper towel to prevent it from drying out. Heat for 20-30 seconds, checking frequently to avoid overcooking.
By following these serving suggestions and storage tips, you can enjoy your Best Gluten Free Bread Recipe to its fullest potential. Proper storage ensures that your bread stays fresh and delicious, while creative serving ideas help you incorporate it into a variety of meals.

Conclusion
Creating the Best Gluten-Free Bread Recipe is a rewarding culinary journey that combines taste, nutrition, and the joy of homemade baking. This blog post has provided you with a comprehensive guide to making gluten-free bread that not only satisfies your taste buds but also supports a healthy lifestyle.
Recap of Key Points
We’ve explored the essential ingredients and their nutritional benefits, highlighting the role of gluten-free flours like almond and coconut flour, and the importance of binders and starches like xanthan gum and potato starch. The use of high-quality ingredients ensures that your bread is not only gluten-free but also packed with nutrients essential for a balanced diet.
The step-by-step preparation and baking instructions are designed to make the process as straightforward as possible, even for those new to gluten-free baking. From mixing the batter to baking and cooling the bread, each step has been carefully explained to help you achieve the perfect loaf every time.
Benefits of Homemade Gluten-Free Bread
Making gluten-free bread at home offers numerous benefits. You have complete control over the ingredients, ensuring that your bread is free from preservatives and additives commonly found in store-bought versions. This allows you to create a healthier, more natural product that aligns with your dietary needs and preferences.
Homemade gluten-free bread also provides the opportunity to experiment with different flavors and textures. You can customize the recipe by adding seeds, dried fruits, or herbs, tailoring the bread to suit your taste. This versatility makes gluten-free baking an exciting and creative process.
Encouragement to Try the Best Gluten-Free Bread the Recipe
We encourage you to try this Best Gluten Free Bread Recipe and experience the difference that homemade baking can make. The combination of carefully selected ingredients and precise baking techniques ensures that your bread will be delicious, nutritious, and satisfying.
Whether you’re baking for yourself, your family, or friends, this recipe is sure to impress. Share your homemade gluten-free bread with loved ones and enjoy the sense of accomplishment that comes from creating something truly special. Don’t forget to experiment with different add-ins and serving ideas to keep your baking adventures fresh and exciting.
Invitation to Explore More Recipes
Your journey into gluten-free baking doesn’t have to stop here. There are countless other gluten-free recipes like Gluten-Free Banana Bread to explore from sweet treats like gluten-free cookies and cakes to savory options like gluten-free pizza and pasta. Each recipe offers its own unique challenges and rewards, providing endless opportunities for culinary exploration.
Visit the rest of our blog for more gluten-free recipes, tips, and inspiration. We’re committed to helping you make healthy, delicious choices that fit your lifestyle. Thank you for joining us on this journey, and Happy baking!
Frequently Asked Questions (FAQs)
Here are some common questions and answers about the Best Gluten-Free Bread Recipe to help you on your baking journey:
What is the best gluten-free flour to use for bread?
The best gluten-free flour for bread is a blend of gluten-free all-purpose flour combined with almond flour and coconut flour. This blend provides a good balance of texture, flavor, and nutrition. Ensure that your gluten-free all-purpose flour contains a mix of rice flour, tapioca starch, and potato starch for optimal results.
Can I substitute almond flour with another gluten-free flour?
Yes, you can substitute almond flour with another gluten-free flour such as oat flour or sorghum flour. Keep in mind that each flour has its unique properties, so the texture and flavor of the bread may vary slightly. Experimenting with different flours can help you find the perfect combination for your taste.
How do I store gluten-free bread to keep it fresh?
Store gluten-free bread at room temperature in an airtight container or a resealable plastic bag if you plan to consume it within a couple of days. For longer storage, slice the bread and freeze it in a resealable freezer bag or an airtight container. When ready to eat, thaw the slices at room temperature or reheat them in a toaster or oven.
Is gluten-free bread healthier than regular bread?
Gluten-free bread can be healthier than regular bread if made with nutrient-dense ingredients such as almond flour, coconut flour, and seeds. It is also suitable for individuals with gluten intolerance or celiac disease. However, it’s essential to choose recipes that use wholesome ingredients and avoid those with high amounts of sugar or unhealthy fats.
Can I add other ingredients to this bread recipe?
Absolutely! Feel free to customize the recipe by adding seeds, dried fruits, or herbs to enhance the flavor and nutritional value of the bread. Chia seeds, flaxseeds, raisins, cranberries, rosemary, and thyme are great options to consider.
What is the role of xanthan gum in gluten-free baking?
Xanthan gum acts as a stabilizer and emulsifier in gluten-free baking, mimicking the binding properties of gluten. It helps provide structure to the bread, preventing it from crumbling and ensuring a cohesive texture.
How long does it take to bake gluten-free bread?
Gluten-free bread typically takes about 45-50 minutes to bake at 375°F (190°C). The exact time may vary depending on your oven and the thickness of the bread. Check for doneness by inserting a toothpick or cake tester into the center of the bread; it should come out clean or with just a few crumbs.
Can I make this bread recipe vegan?
To make this gluten-free bread recipe vegan, you can substitute the eggs with flax eggs (1 tablespoon of ground flaxseed mixed with 3 tablespoons of water per egg) or a commercial egg replacer. Additionally, use plant-based milk instead of warm water if desired.

